You know that dapperQ is all about community – and what better way to spread this community than by building our own network of on-the-fly street videographers? So congratulations for jumping on board- you’re about to learn how to shoot a street fashion video in under 20 minutes!
Now that you’ve seen the video, you probably still have some questions. Take a glance over our detailed how-to list below. If the video was crystal clear to you, and you’re ready to go- then great! Grab your model, have him/her sign the release, and get taping! Don’t forget to include these all-important things when you’re ready to hand in your footage:
- A detailed list (as specific as possible) of what the model wore in the video.
- A signed model release form.
- Your footage (please contact us pre-shooting so we can identify how you should send us your footage).
How To Shoot a Street Fashion Video:
1. The first step in making a street fashion video is to determine the dialogue. What will your model say about her outfit to the camera? What specific elements will she point out to the audience? It’s good to make sure your model knows what brand her clothing is before the shoot, and to have her mention as many details as possible to the camera. Also, have the model remember where she got each piece of clothing, and include any short/entertaining blurbs in the dialogue. Finally, talk with your model about what (if any) challenges she has with certain clothing styles, and how she problem-solves them. You don’t need to establish a memorized script, but it is helpful to have an outlined structure so that each time you shoot a different take, the narrative flow is consistent. Make sure that both you and the model have the same idea about what parts of the outfit you’ll highlight with the video!
2. Once you’ve got your dialogue sorted, you’re ready to find your shooting location. You can pick anywhere you like, but some elements to consider are: what kind of background would look best with this outfit? How noisy is my potential shooting location? Is my location somewhere that my subject will feel comfortable being herself? What’s the lighting like- can I see the model’s face? Is the picture washed out from too much light? Street fashion videos look best, obviously, outside. However, if your model will be too cold/hot/distracted outside, or you fear traffic will be too noisy, try to find an interesting indoor location.
3. Now that the details are figured out, it’s time to start shooting! Before you do anything, make sure that you have an extra set of 2 batteries for the Flip cam. Now, if you’ve never shot with a Flip cam, here are a few guidelines. The cam’s controls are rather fool-proof, but if you need help, check out the images below. Since the Flip cam is so small, you might find it hard to keep the video stable; I recommend bracing your hand holding the camera with your other arm for maximum stabilization. Flip cams don’t allow the videographer to mess with color balance or focus settings. If you feel like the video looks weird, or the camera isn’t focusing, try switching your subject, and then going back.
4. The first take that you’ll shoot is called the long take. This is arguably the most important shot of the process, as it will be the root video and audio clips which will guide the piece when it’s edited. To shoot the long take, frame the camera so that it includes the model’s torso and head, and stay still! Don’t move the camera until the model is done with all of her dialogue. And remember: you might have to film the long take multiple times, in order to get one take you’re satisfied with from start to finish. Be sure to let your model know that there might be multiple takes, and not to worry if she stumbles over her words. Video, especially Flip video, is cheap- don’t worry about wasting tape!
5. After your long take is in the can, all you need to do is shoot the details of the outfit. Be sure to film close-ups of all outfit elements that the model highlighted in the long take. Take a few shots of each detail from different angles or zoom levels, so that the editor will have a lot of shots to choose from. Feel free to have the model take certain elements (like hats, watches) off, so you can get good close-ups from different angles. When shooting close-ups, be mindful of your subject’s body type and how their clothes are styled- try to tape from flattering angles!
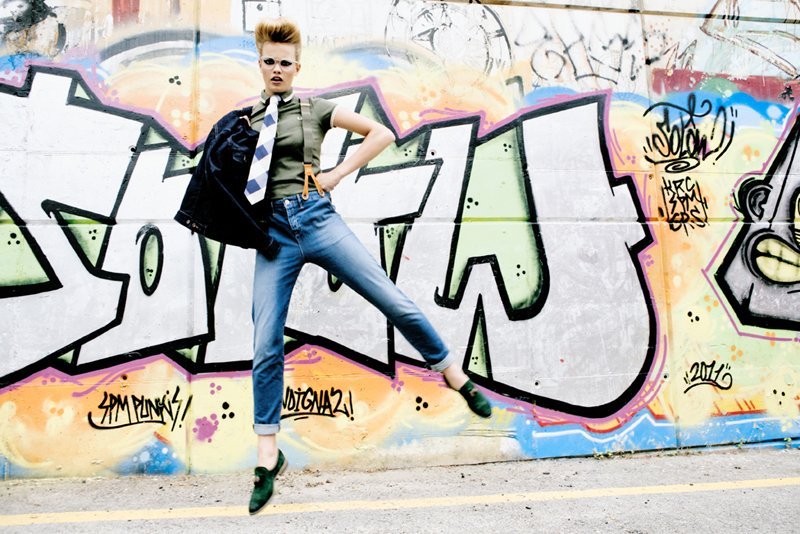
6. Once your close-ups are in the can, experiment with some wide shots of the model that show off her outfit. For example, you can film your model while you walk in a 360 degree circle, you can start with a wide shot and zoom in to a specific detail, you can walk closer to and further away from your model, etc. Look at the first shot of Susan on this video.
7. Finally, have your subject do the dapperQ signature move- punch at the camera. Make sure you capture the punch multiple times, and at different speeds, so we get the perfect take!
8. So there you have it. Film more than you think you need, and don’t be afraid to do multiple takes of different shots- it will only help the editor!